How to offer payment plans for students to be more accessible?
Enhance your online courses by making them more affordable and accessible. Find out how you can offer the option of payment plans, so that you are able to reach more students.
You've got real and valuable expertise to share with your students.
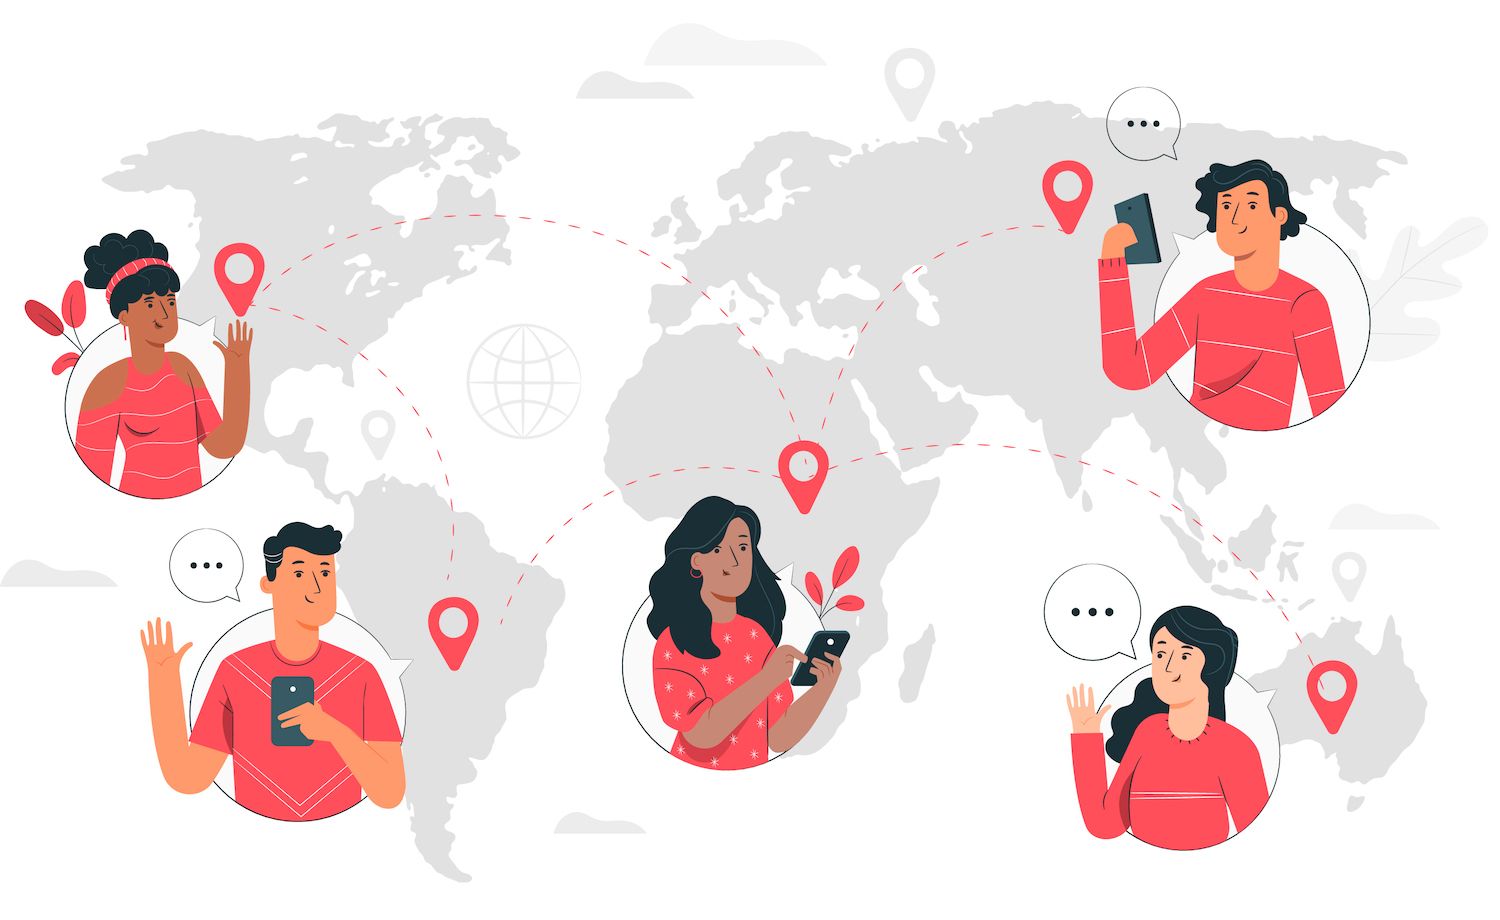
There is so much you can share and teach, how can ensure that you reach the maximum number of students even students who may not be in a position to shell out hundreds of dollars for the course in advance?
Input payment plans.
When you offer payment plans, students can pay for your course with each month's installments, rather than paying a lump sum upfront. Still, you get paidas well as helping students to afford the material they require.
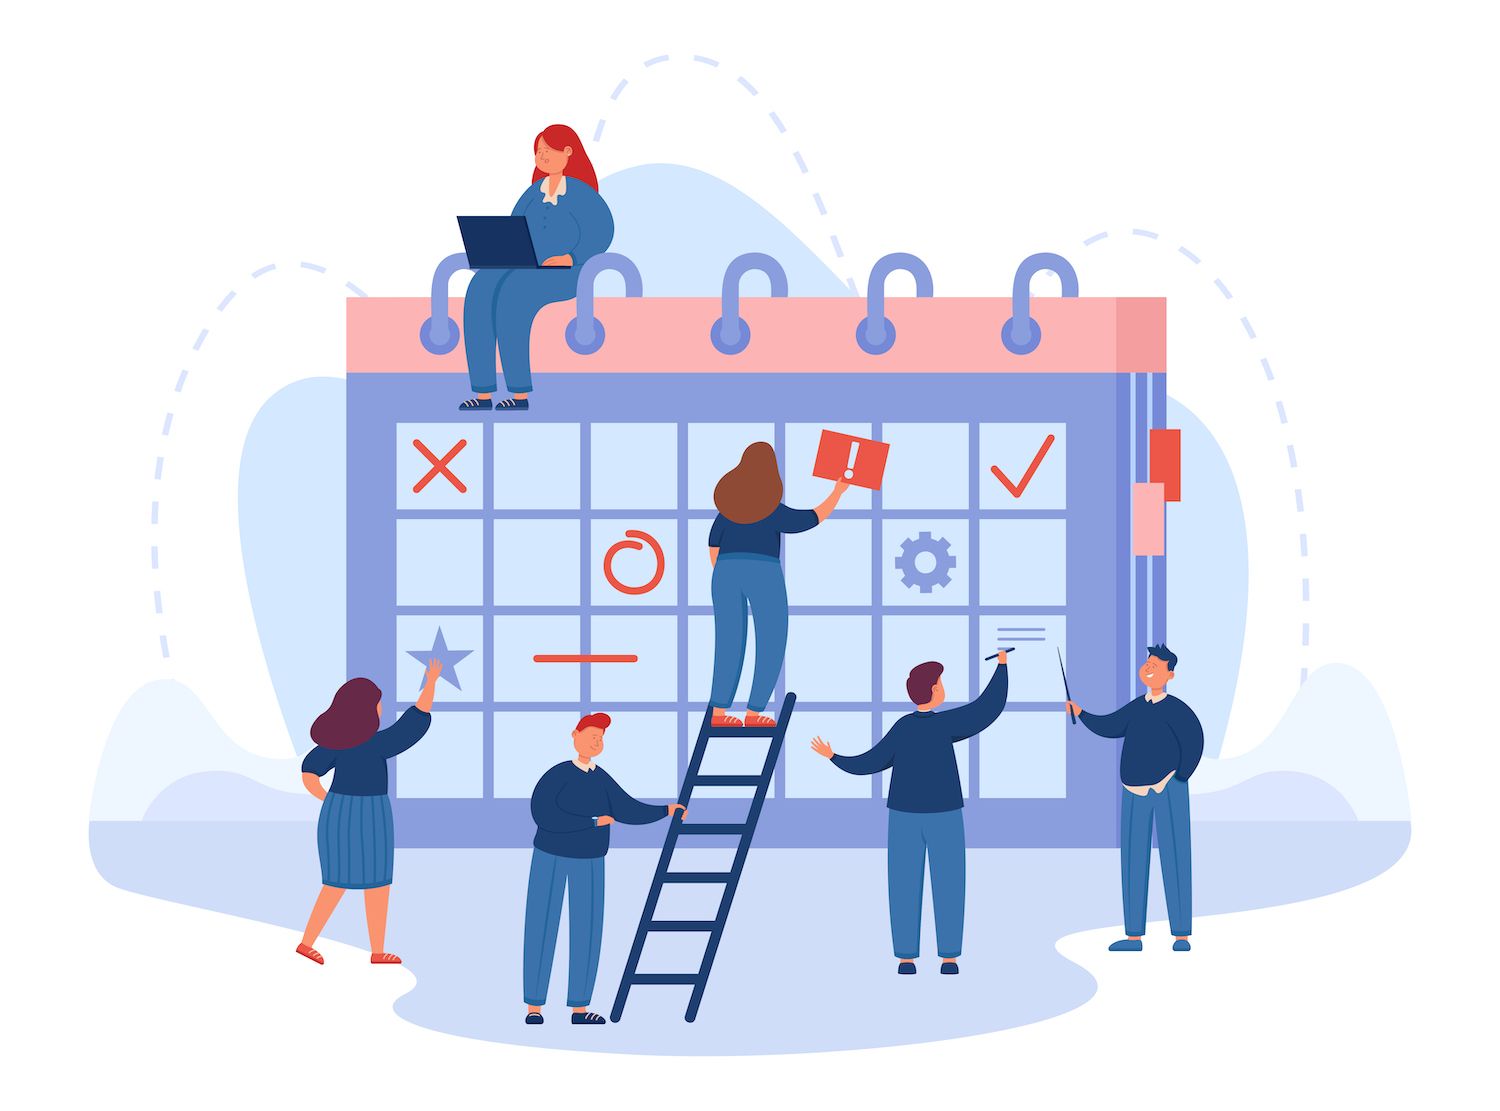
Here's how to set up payment plans and examples of how offering payment plans helps creators create more courses, and also inspire to more students.
How to setup payment plans with
Learn how to offer payment plans and begin accepting monthly installments by your customers so that your content can be available to those that need it.
(Want to follow along and follow the story, but don't have an account? Sign up for free .)
Step 1: Design your own product or pick one to alter
Within your dashboard go into the "Products" tab .
The option is to make the product from scratch or add a payment plan to an existing program. For our example, we'll make a brand new online course.
To start a new online course, go to "New product" then select "Online course". Give your course a name and select "Create the product".

Step 2: Add sections to your program
Select "New Section" in order to create a new section to your course.
The new section should be given the name. Add an explanation. Inform your students about the topic that the article will be focusing on, and the outcome they can anticipate. Click "Save".
Continue this procedure to make every section in your course.
Third step: add information to each section
Once you've created each section you can add the content to each section by clicking "New lesson" then selecting the type of content you want to include.

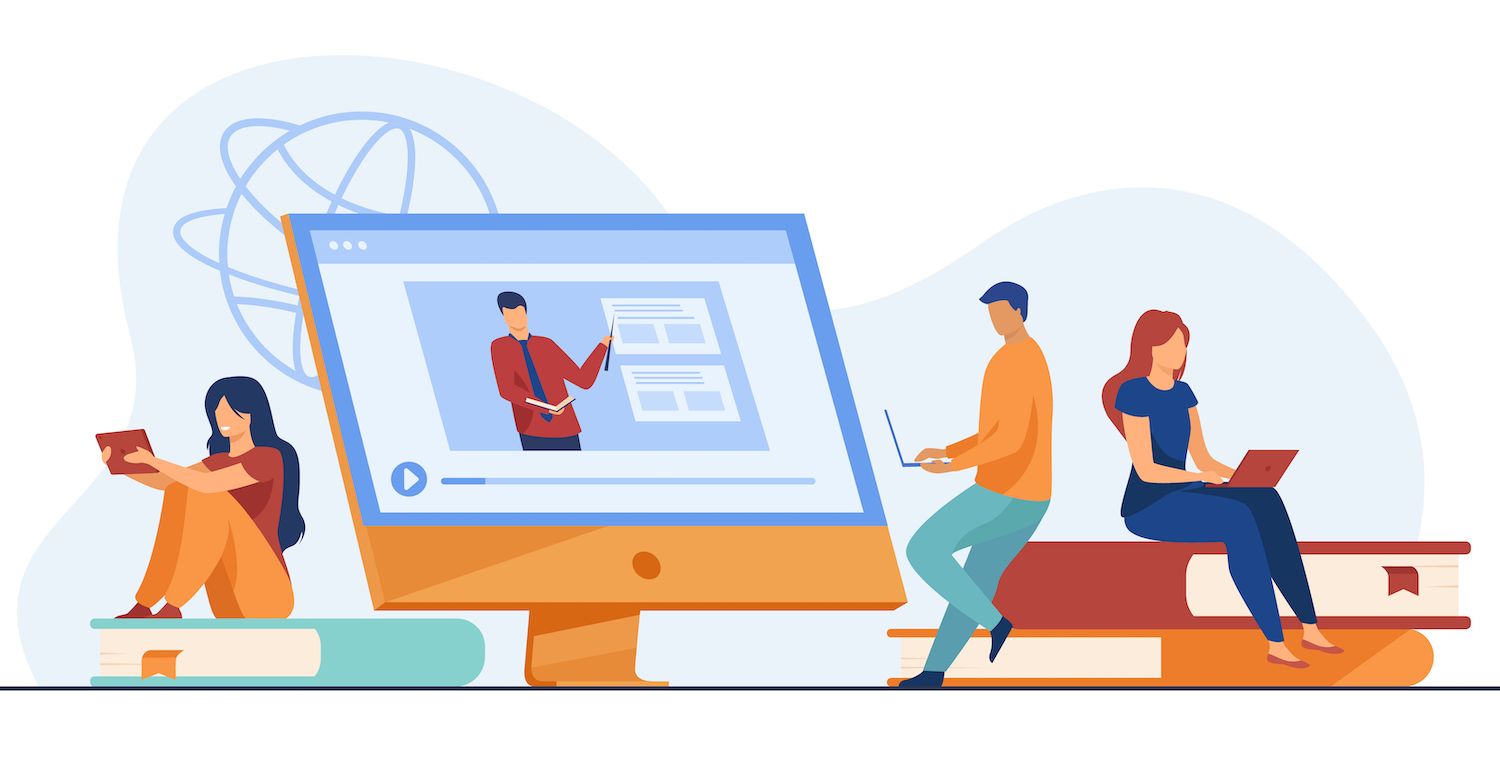
We'll not go into the details of how to create instructional content in this piece We suggest including various types of content like videos, workbooks, tutorials as well as quizzes and other.
Here are some great tools to help get you going:
Video How to plan and organize an online course
Video how to create awesome videos for your online courses
Step 4: Set an (optional) beginning date
Once you've added all of your course content, click "Availability". You can then change your access to the course as well as accessibility.
It is also possible to add a start date to your course in case you would like all of your students to begin their course on a particular date. If, for instance, you intend to conduct webcasts that live during your course setting a specific time for the start will ensure that everyone in the same timeframe.
Step 5: Set up course pricing
Next, click over to"Pricing" and then click over to "Pricing" tab.

If you haven't already set the payment method, simply click "Accept on-line payments" and link your Stripe or PayPal account through following the steps in this guide .
Although you are able to accept one-time payment through PayPal but you'll need to join an Stripe account to receive periodic payments from payment subscriptions or subscriptions.
Once you have set the full price, you can set up an optional payment plan.
But first, how do you determine if it is appropriate to provide a payment plan?
There's no absolute rule of thumb however, if your class exceeds $100 in cost or takes longer than 10 hours to finish, a payment plan could make it more accessible to more students -- and help you make more sales.
Marketing expert Val Geisler offers her exclusive email marketing mastery incubator to students for an initial fee for $5,000, or three monthly payments of $1,750. This is a costly and valuable -- 12-week course, which is why it is logical to Val to provide payments plans for her students.

As Val Numerous creators decide to make the total installments add up to slightly more than the pay-in-full price as a way to gain the flexibility of paying in installments, which is as the idea of charging interest.
Now, click back to the "Pricing" Tab. You can set your cost per transaction and also the number of installments you would like the plan to include. If you're not certain how long your payment plan should run between two and six months seem to be the standard among creators from all industries.

Step 6: Check out your course
Once you've set the pricing, you're now ready to test your course. Utilize the three dots dropdown menu and then choose "View as a client" and "View as visitor".

Step 7: Publish your course
If you're pleased with your course's preview, simply click "Publish," then select "Publish".

Then and your course is now live now and you're all set to begin collecting each month.
Step 8: Automatically collect recurring payment
Once a student is enrolled in your class and selects the payment plan option they'll receive their planned payments on the due date every month.
They will also send automated notifications to students whose credit cards might have been expired, requesting students to correct their account details, and also notifying you about any payments that have failed.
Everything is handled by you, which means you'll be less worried about late payments and more time creating awesome content for your students.
Why should you provide payment plans?
Flexible payment options make it easier for customers to afford big-ticket items like costly online classes and annual memberships -- and they are more likely to buy from you, also.
Don't believe me when I say it:

84% of people like the convenience to pay for big purchase with time.
35% customers tend to buy if a brand offers regular payments.
68% of Americans stated that they would be more willing to shop with small businesses if they offered finance options.
Furthermore, 36% of customers believe that financing assisted buy a larger item than they had previously thought of. A product like, say Steve Chou's Make A Successful Online Store course.

Entrepreneur Steve Chou of My Wife Quit Her Joblearned the value of monthly installments firsthand. Steve offers three payment options to his course online:
$1,799 upfront
$475/month for four months
$275/month for eight months
These payment plan options make Steve's online courses affordable to prospective entrepreneurs who want to start their own online business.
It's also helped with to increase his conversion rate payments can help Steve gain "approximately 27percent more customers as compared to if I offered a single, lump-sum payment".
When more people can afford your course, you make your expertise accessible to more students. And when more students can access your content and resources, you stand a greater opportunity to inspire, teach and transform lives.
Inspiring and empowering for women across the world is exactly what Jenny Lachs, founder of Digital Nomad Girls, does through her Stop Dreaming, Start Making Packing! course.
"I understand how challenging it is to make the change to the digital nomad life because I had to work out the details for myself at the beginning of five years ago on my journey," Jenny explains. "But I also know that if I'm able to make it happen, then surely do you."
By offering a payment plan to her class, Jenny makes her experience and experience accessible to more people, giving many women the skills they need to start their own business and build their ideal lifestyle.
It makes it simple for authors such as Jenny to start selling additional courses, and inspiring more students -through payments plans.
Basically:
When you offer the option of payment plans, you will be able to offer more courses, generate the foundation for a steady cash flow for your business and provide more customers with an opportunity to study.
It's win-win for everyone.