How To Design A Course in Photography Website: A Complete Instructions
Learn this step-by-step procedure to discover the steps to create an online photography website in CreativeMindClass A free software that is used by the top photographers.
How to create websites in six easy steps
Make your readers buy using text and images.
A clear, benefit-oriented web site can sell your course to you. All it boils down to asking the following inquiry: What is the reason someone should decide to take your photography instead of another training course? Give your client, so that they are aware of what to be expecting. The best course websites are generally simple, distinctive and inspiring. It has captivating copy as well as illustrations that illustrate the major benefits closed with a clear calling-to-action.
In this tutorial we will show you the practical method of creating an attractive website by using CreativeMindClass. It lets you consistently present your course benefits with copy, images and promo videos, and more to create a website that convinces your viewers.
This guide will help you follow these steps.
- Grab the visitor's focus
- Add inspiring visuals
- Start your subject
- Highlight benefits
- Try a bite of your class
- Make it available to your audience
1. Grab the visitor's attention
Your website must get your message across quickly before your potential customer is able to move on.
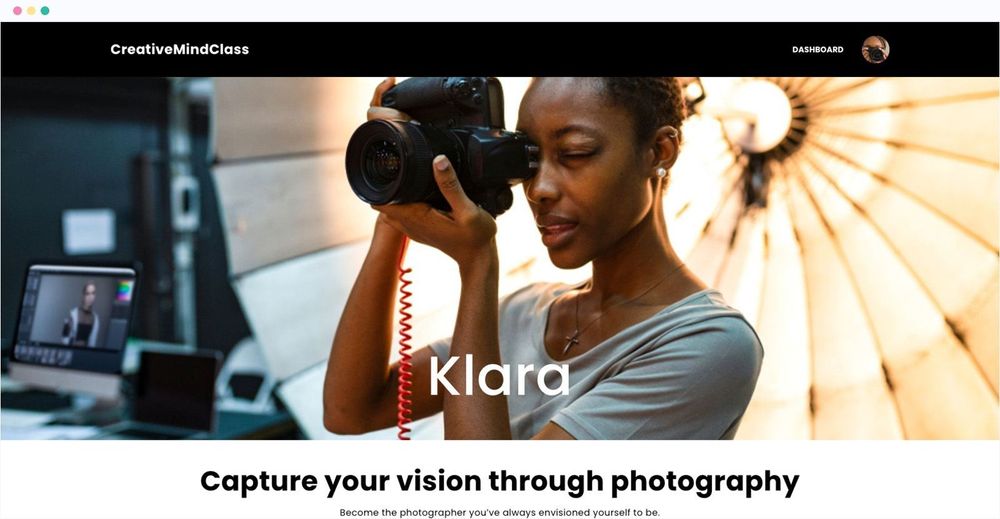
It is essential to establish a strong foundation at the beginning. First thing that they will look at is the headline. The headline explains what visitors will get when they take your photography online course. It clearly outlines the benefits of the course.
Be sure to keep it brief, punchy and concise. One of the easiest ways to make sure the headline is shorter is to use an additional headline. It could be as simple as finishing a sentence or an additional sentence supporting the principal assertion.
What is it? in CreativeMindClass
- Click websitein menu in the main menu, then click it to display it.
- Click the on Edit button on the Welcome section.
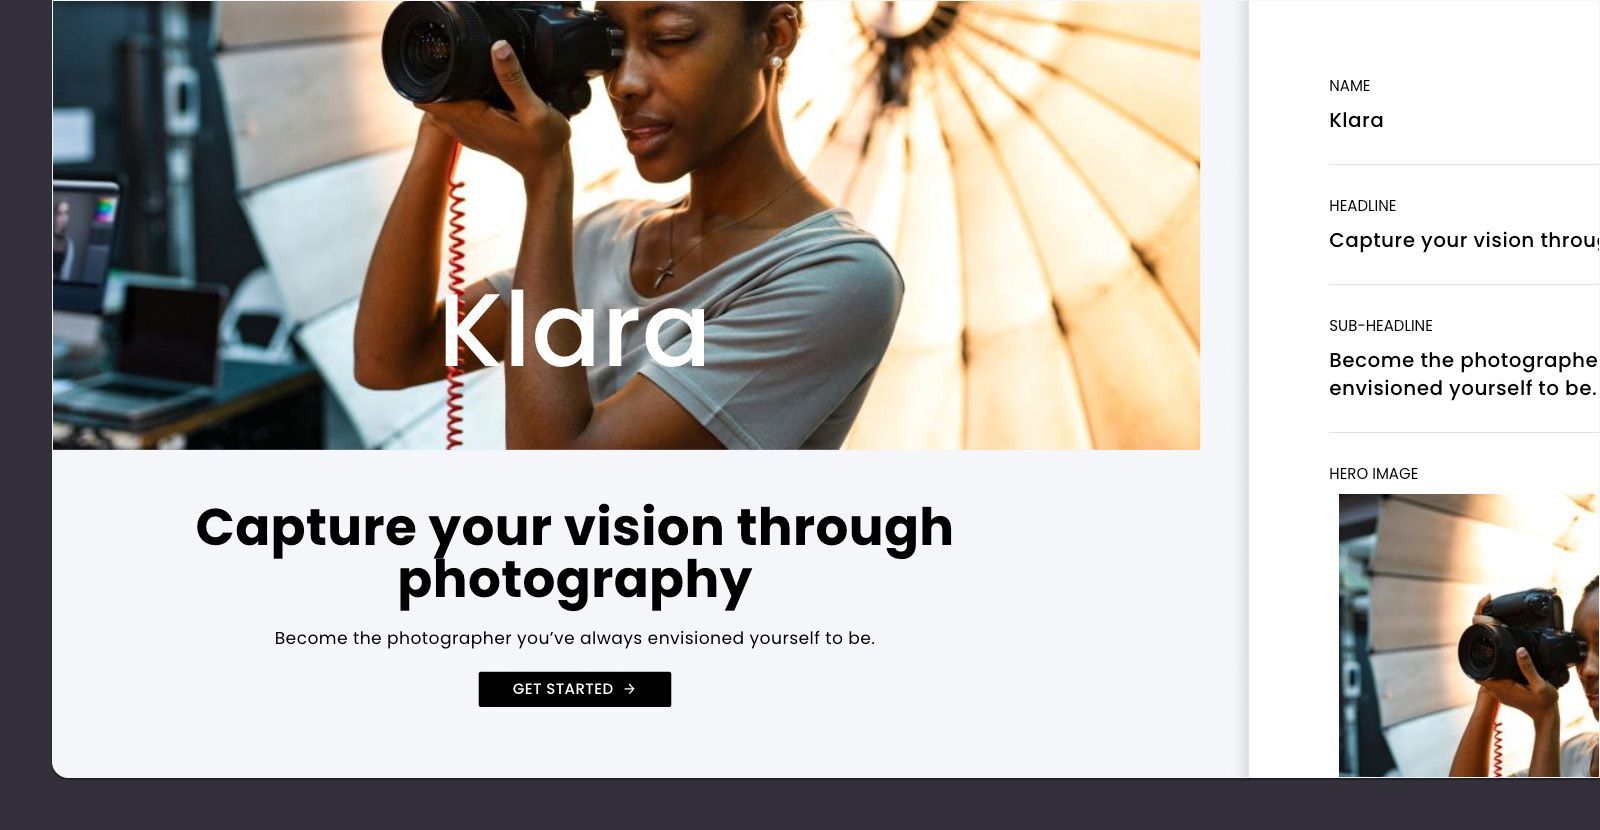
- Use the your HEADLINE. For example "Capture your vision with photography".
- Type the SUB-HEADLINE. In this case, for example: "Become your own photographer that you've always imagined yourself to become".
2. Add inspiring visuals
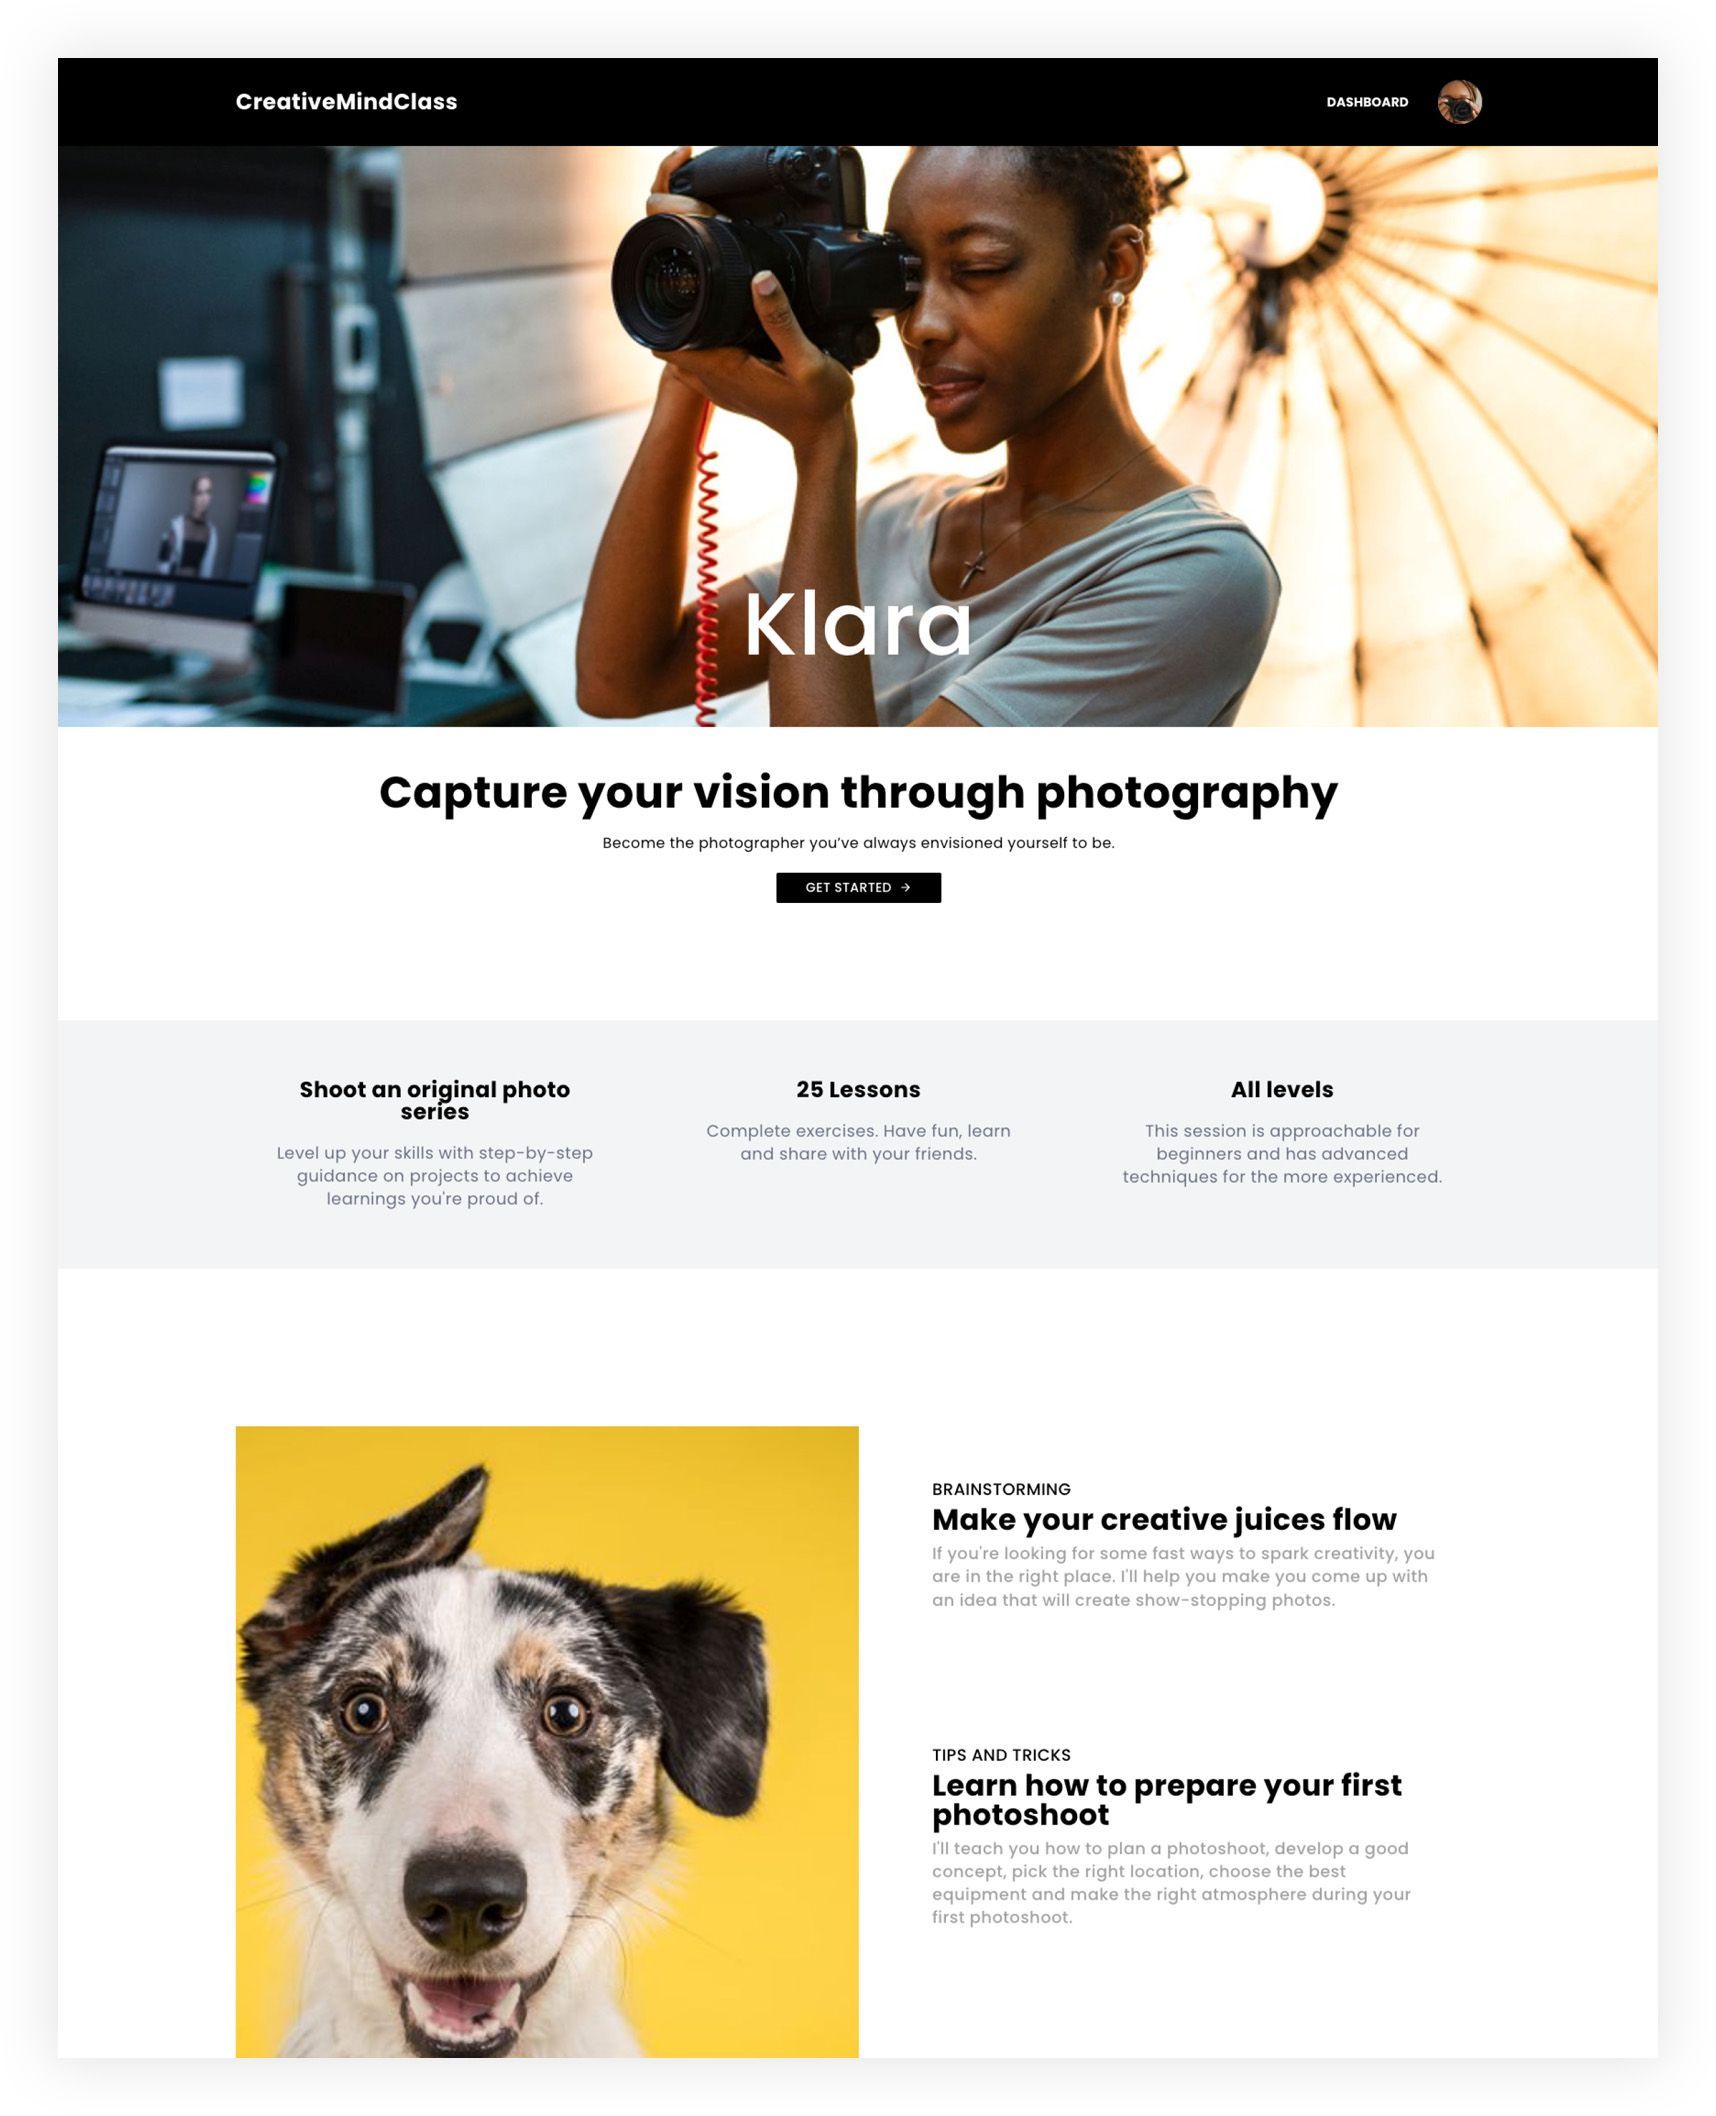
After that, you'll need to add your main image (or background videos) on the top of the website for your course to help visitors understand what you offer.
What does the image of the hero says about the value of your online photography course? Imagine your customer's potential within a situation you've developed for your customers. If you've created a class, for example, about taking dog pictures, you can make a photo collage or a background video with the final photos. Your images should be huge as well as crisp and clear.
Use your own photos, or browse online for libraries that can provide inspiring visuals.

How do I get it in CreativeMindClass
- Click the Edit button located in Welcome section.
- Click HERO Image, BACKGROUND VIDEO or Animationto add your visuals.
3. Introduce your class
Provide some basic information about your online photography course.
What's it used for? How long is it? What number of lessons are you offering? Are you able to give bonus materials? What's the project for the class? What is the purpose of the course?
The information provided helps visitors who skim through your page quickly understand what they're getting.
What is it? in CreativeMindClass
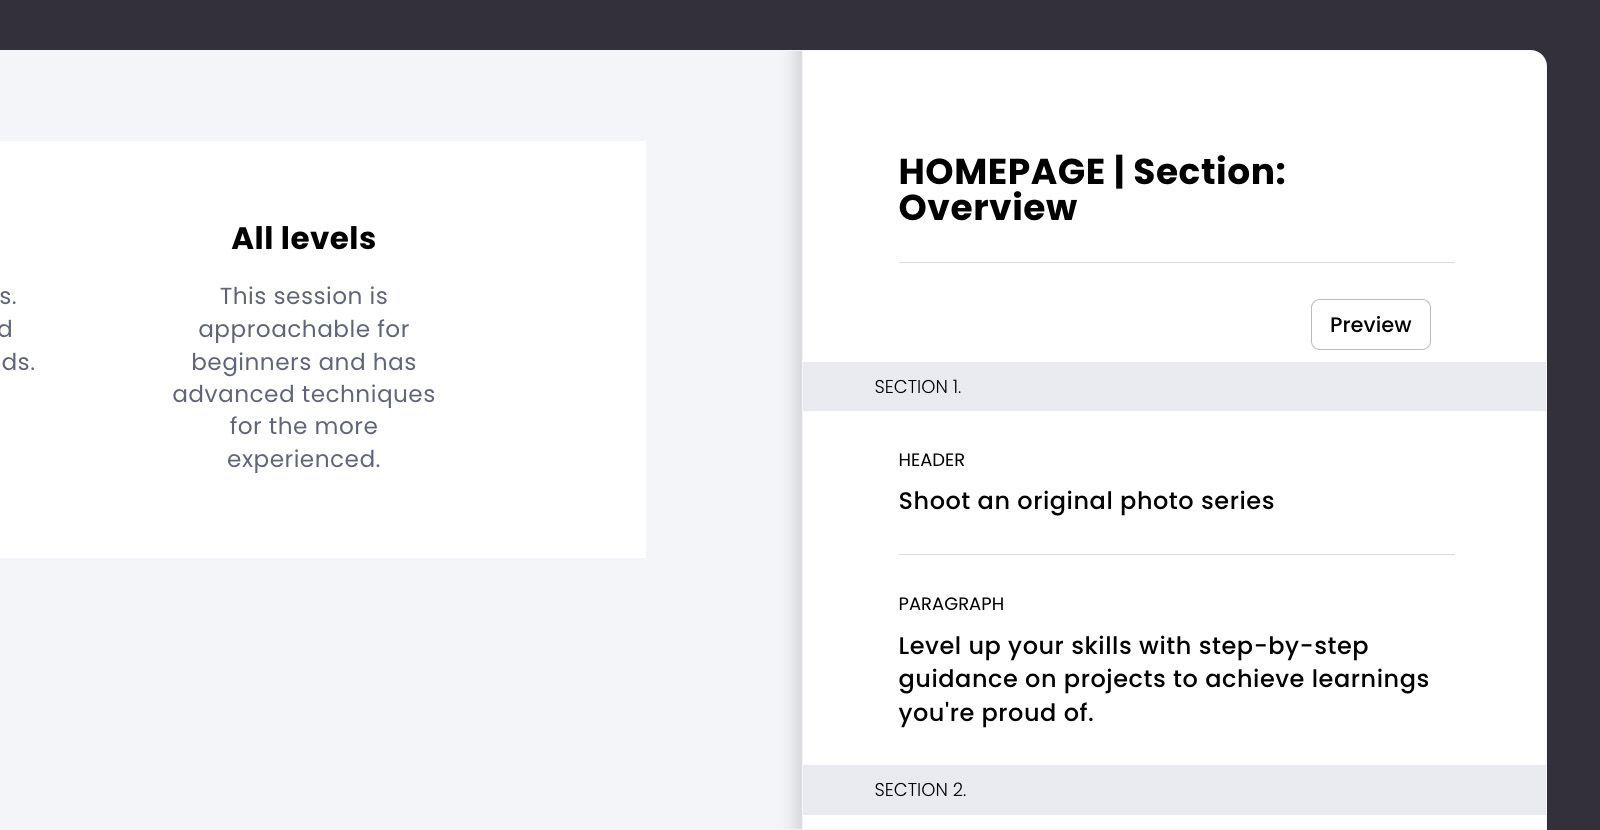
- Click Edit button on Overview section.
- Type HEADER. For example "Shoot the original photo sequence".
- Write a PARAGRAPH. For instance, "Level improve your abilities with step-by-step guidance on assignments to attain learnings that you're proud of".
4. Highlight benefits
The benefits clearly stated will convince the majority of users. Provide more detail about your course, learning outcomes, and its worth.
What skills will they learn? How will this course benefit the student? What is the transformation they will go through? What issues do you have to solve?
One of the easiest ways to emphasize advantages is to create a short, punchy, and clear heading. Add a second subheader that supports the principal statement. In the paragraphs, write shortly about the key Learning outcomes and then write your value in plain language. the content will bring.
Another way to highlight the advantages of your class is by using a striking photo.
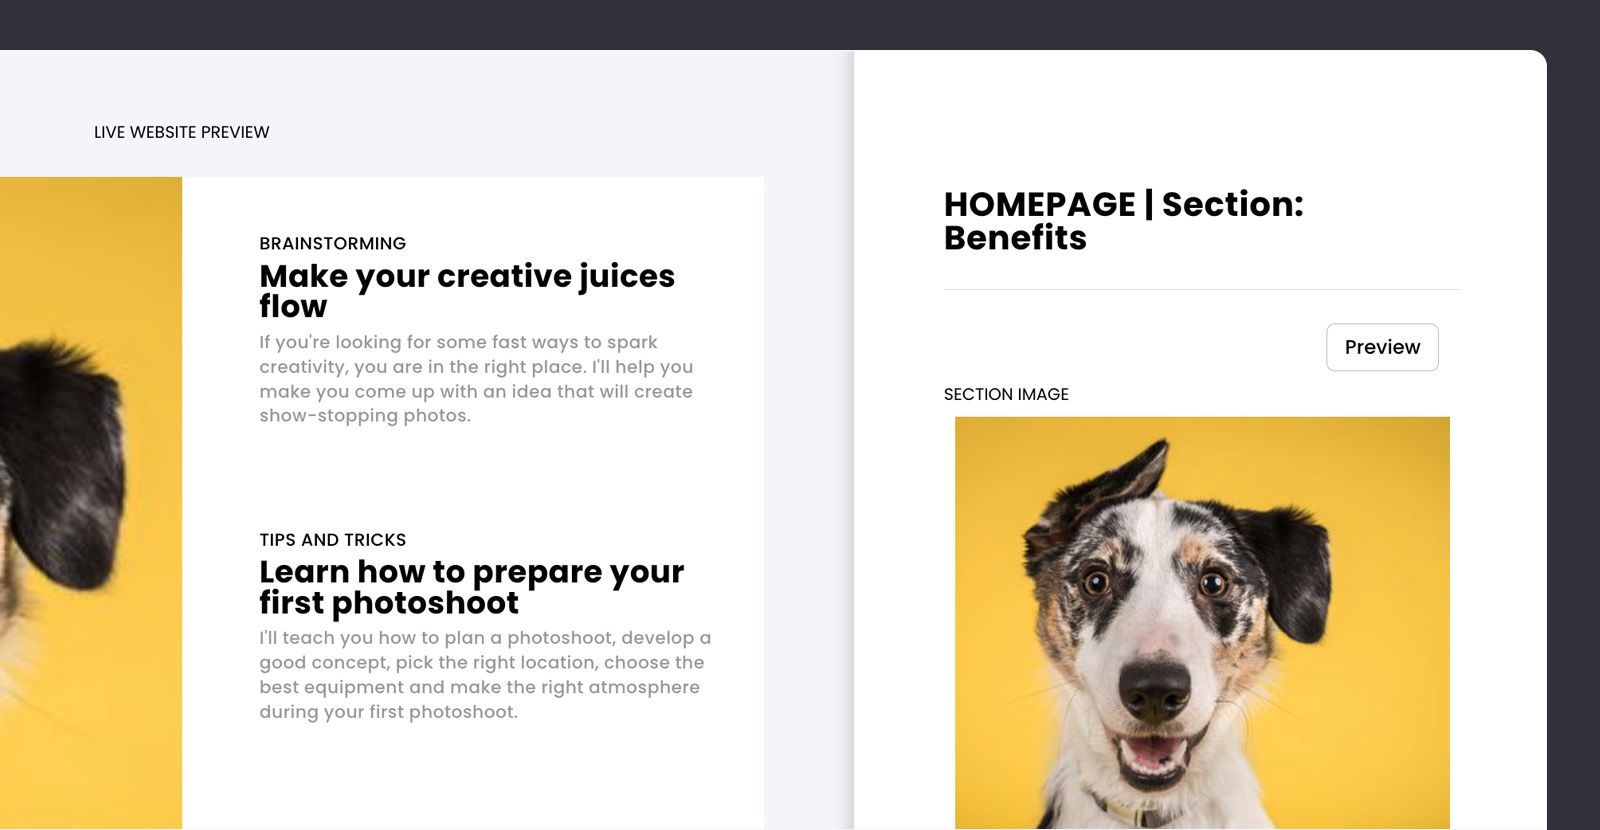
What is it? in CreativeMindClass
- Click the the Edit button located in Benefits section.
- Type HEADER. For example "Make your creative juices go".
- Type the SUB-HEADER. As an example, "Get an incredible idea".
- Enter a PARAGRAPH. For example "If you're searching for fast ways to spark your creativity, you're at the right spot. I'll assist you to come up with an idea that will create amazing photographs ".
- Click SECTION IMAGEand upload your image.
Pro Tip: Concentrate on three advantages. Write a short copy that is straightforward to attract the viewer's focus. Circle back to remove anything which is difficult to follow.
5. Offer a sample of your course
A person who's browsing to purchase your photography online course wants the first glimpse at what's in the. You can do that by creating a breathtaking promo trailer. If you want to create a promo trailer you could create an impressive and exciting video lasting 30-60 minutes.
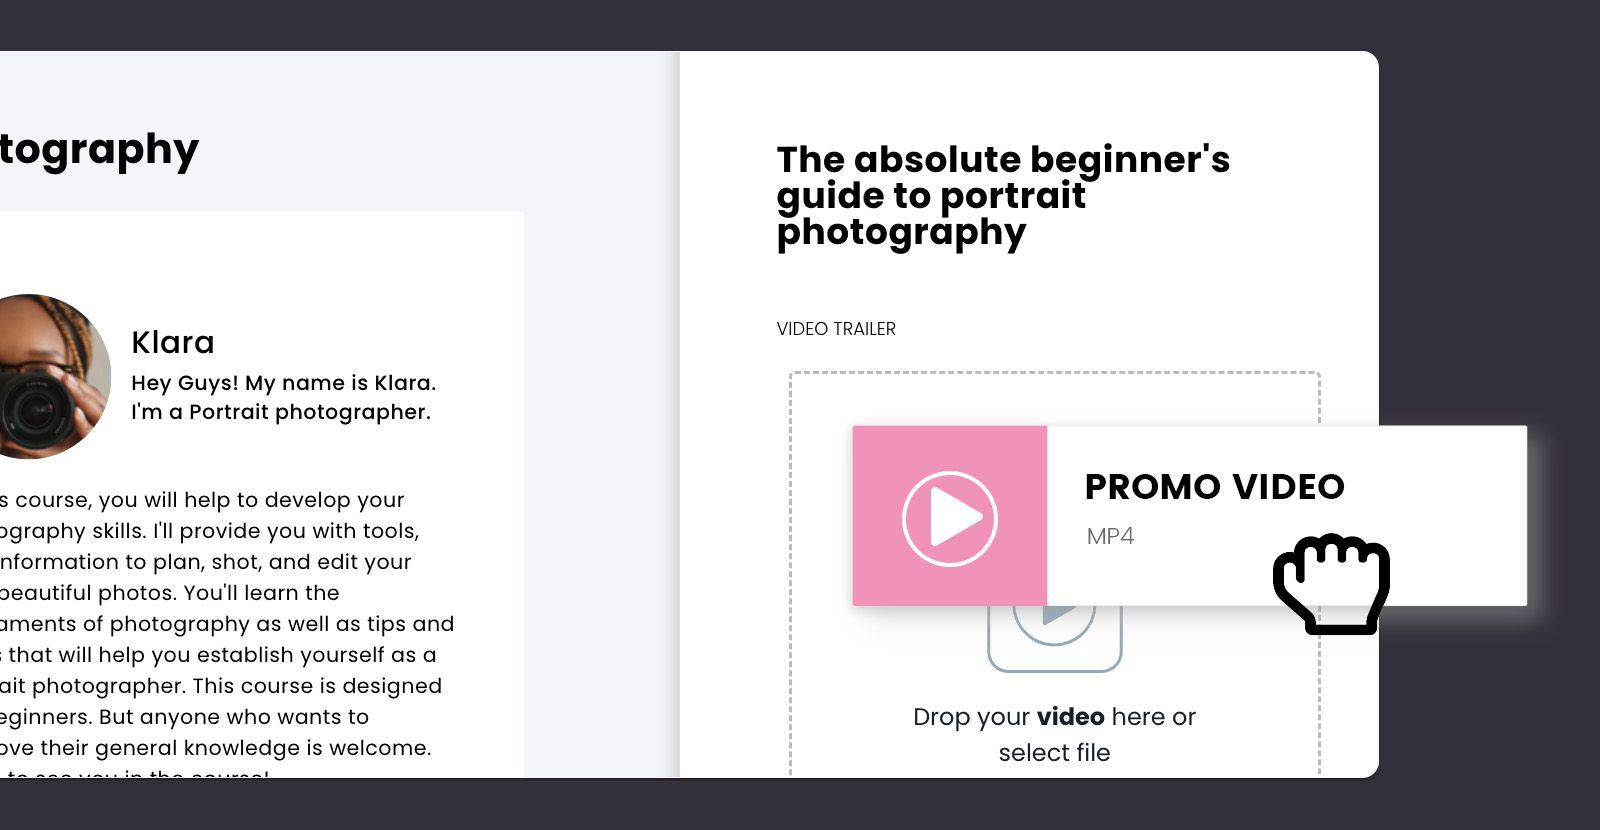
How to do it within CreativeMindClass
- Simply click My Classesin main menu to open it.
- When in class, click on the class page tab to open it.
- Select VIDEO TRAINERto upload your promo video.
6. Send it to your followers
This is a thrilling time after all your hard work. After you've created your course website Your online photography class will be available for sharing with your followers. Add the link to your site, social media, email or blog and launch the promotional program.
TIP: Before you announce the course to your students, be sure that the class, all lessons, and exercises are publicly available.
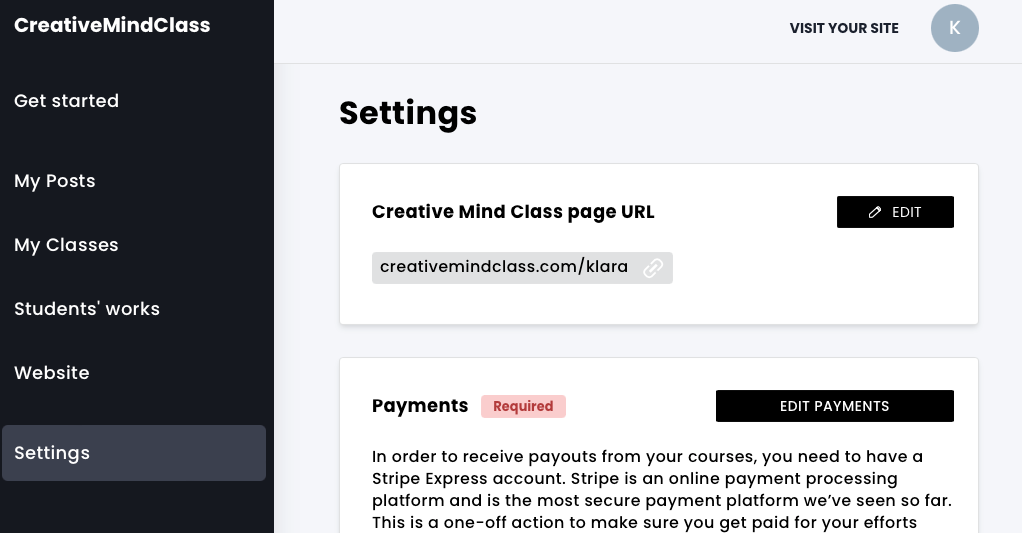
How to do it in CreativeMindClass
- Select Settingsin the main menu, then click Settings to start it.
- Copy the CreativeMindClass Page URL.
- Make sure you share the lesson with your audience.
And you're done!
You now have a beautiful website to promote your online photography course. If you're starting a new online photography course today, you can use this free template to create a new website and read our complete tutorial on how to set up an online photography course.
Create your website for a photography course. Today.
Get started for FREE with CreativeMindClass's easy-to-use template.

Register for free, with no limitations on time
Article was first seen on here